Do you want to stop Windows updates and upgrades on your PC? This tutorial will show you how to stay on Windows 10 without upgrading to Windows 11 and pause Windows Updates if you’ve already made the upgrade.
Although Windows updates and upgrades come with new features, improved performance, and better security, they can also worsen the user experience.
For example, Windows 11 is radically different from Windows 10, so you might not be ready for an upgrade yet. If you’re using Windows 11, you may also want to block further updates if you worry they could impede your workflow.
Regardless of the reason, here’s what you must do to pause or stop operating system updates and upgrades on a Windows PC.
Block Windows 11 Upgrade and Stay on Windows 10
Microsoft does not force-upgrade Windows 10 to Windows 11. If you see a large banner in Windows Update telling you that your computer is Windows 11 upgrade-ready, simply choose to Stay on Windows 10 for now, and you should be good. You’ll continue receiving Windows 10 updates and can upgrade to Windows 11 once you’re ready.
However, suppose you’re concerned that Microsoft may change its stance or that you’ll accidentally upgrade to Windows 11. In that case, you can rely on a couple of Local Group Policy Editor and Registry Editor-based workarounds to stay on your current Windows 10 version.
Find Windows Current Windows 10 Version
Before you go ahead, you must identify and note down your version of Windows 10 since you’ll need the information later. To do that:
- Right-click the Start button and select Settings.
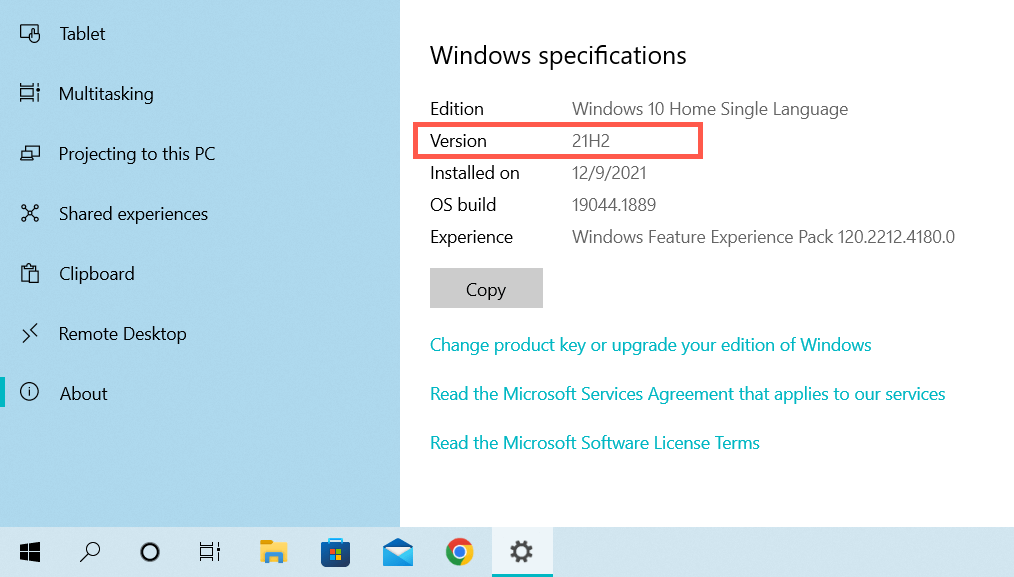
- Go to System > About and scroll down to the Windows specifications section.
- Check Version and note what you see next to it—e.g., 21H2.
Block Windows 11 Upgrade via Group Policy Editor
If your PC runs the Windows 10 Pro or Enterprise editions, you can block upgrades to Windows 11 via the Local Group Policy Editor.
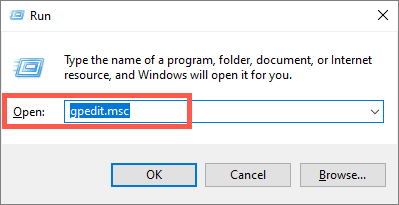
- Press Windows Key + R to open a Run box. Then, type gpedit.msc and press Enter.
- Navigate through the following directories on the Local Group Policy Editor’s left navigation pane:
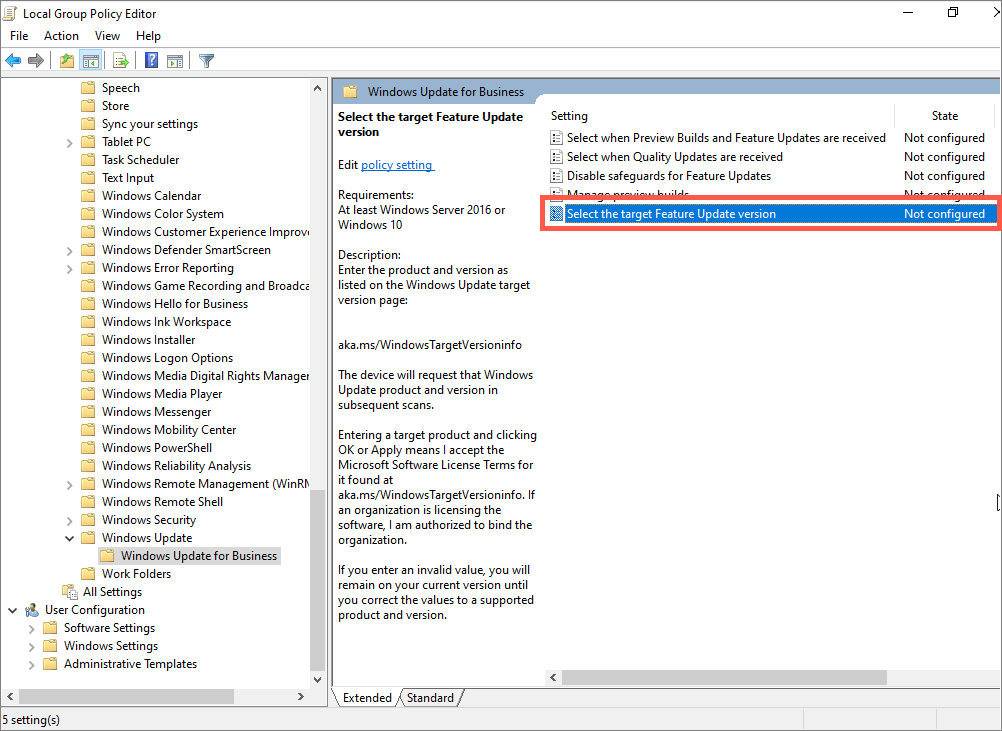
Local Computer Policy > Computer Configuration > Administrative Templates > Windows Components > Windows Update > Windows Update for Business
- Double-click the Select the target Feature Update version policy setting on the window’s right side.
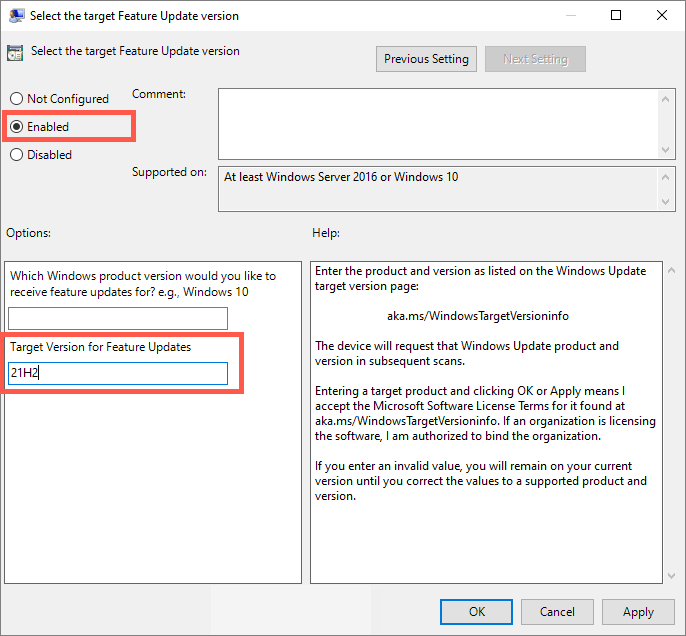
- Select the radio button next to Enabled.
- Type the current Windows 10 version into the Target Version for Feature Updates field.
- Select Apply > OK.
- Exit the Local Group Policy Editor and restart your computer.
Block Windows 11 Upgrade via Registry Editor
If you use the Windows 10 Home edition, use the Registry Editor to block upgrades to Windows 11.
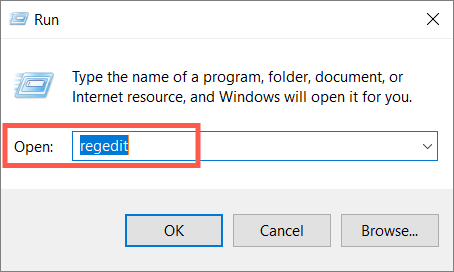
- Press Windows + R to open a Run box. Then, type regedit and press Enter.
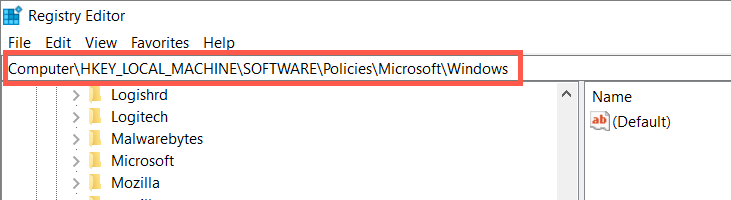
- Copy and paste the following path into the address bar at the top of the Registry Editor window and press Enter:
HKEY_LOCAL_MACHINE\SOFTWARE\Policies\Microsoft\Windows
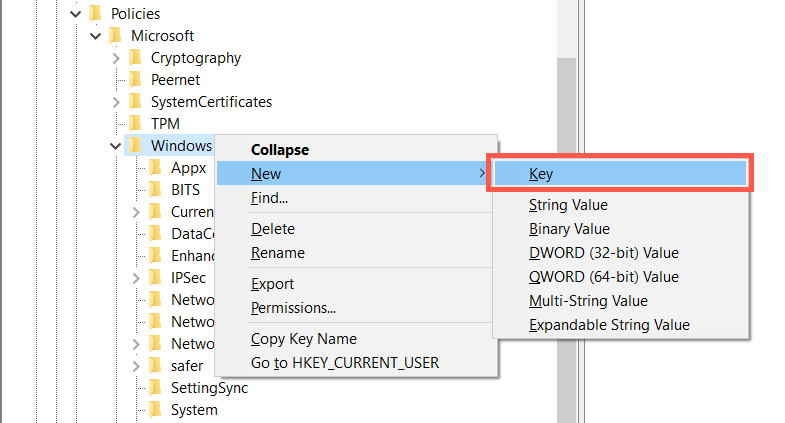
- Right-click the Windows folder on the left pane and select New > Key.
- Name the folder as WindowsUpdate.
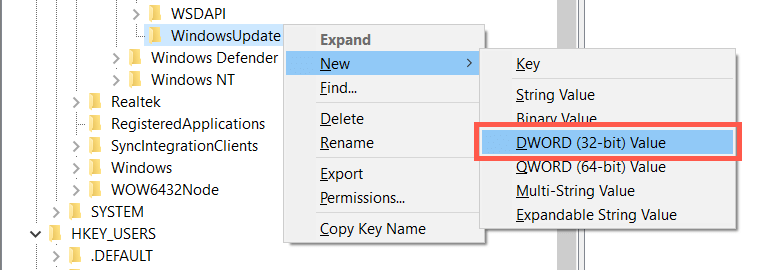
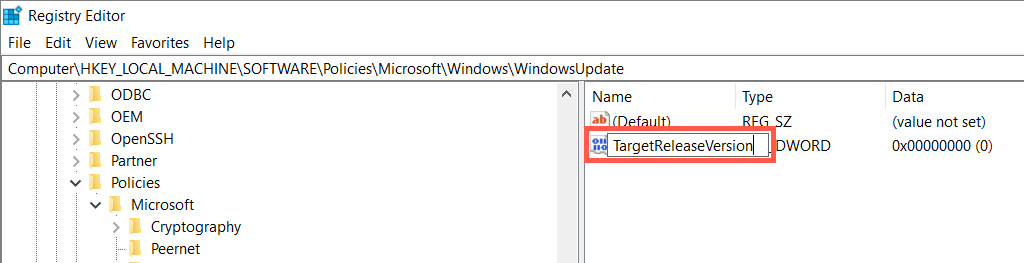
- Right-click the WindowsUpdate folder and select New > DWORD (32-bit) Value.
- Name the value as TargetReleaseVersion.
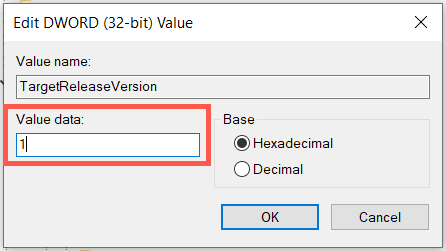
- Double-click TargetReleaseVersion on the right pane, enter 1 into the Value date field and select OK.
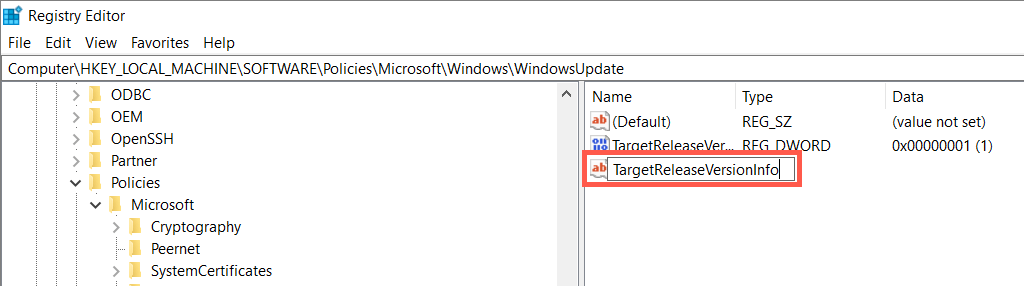
- Right-click the WindowsUpdate folder again and select New > String Value.
- Name the string as TargetReleaseVersionInfo.
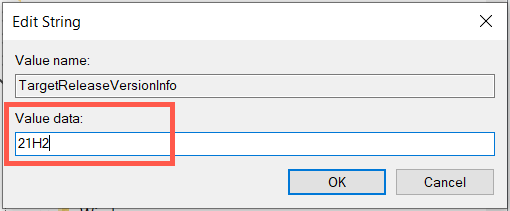
- Double-click the TargetReleaseVersionInfo string, enter your Windows 10 version into the Value data field and select OK.
- Exit the Registry Editor window and restart your computer.
Installing Future Windows 10 Version Updates
Despite blocking upgrades to Windows 11, your Windows 10 installation will continue to receive quality and security updates from Microsoft. However, it won’t receive feature upgrades (major Windows 10 updates that Microsoft releases once a year) unless you do the following.
- Check Microsoft’s Windows 10 release information page for the latest Windows 10 version.
- Follow the above instructions and update the version number in the Local Group Policy Editor (step 5) or Registry Editor (step 10).
- Restart your computer and run Windows Update.
Methods to Pause or Stop Windows 11 Updates
If you’ve already upgraded to Windows 11, you can use the following methods to stop future Windows 11 updates. However, your PC will miss out on newer security patches and bug fixes, so we do not recommend blocking Windows Update for extended periods.
Pause Windows Updates via Settings App
You can pause new Windows 11 updates temporarily via the Windows Update Settings. It’s the most convenient option and also the safest.
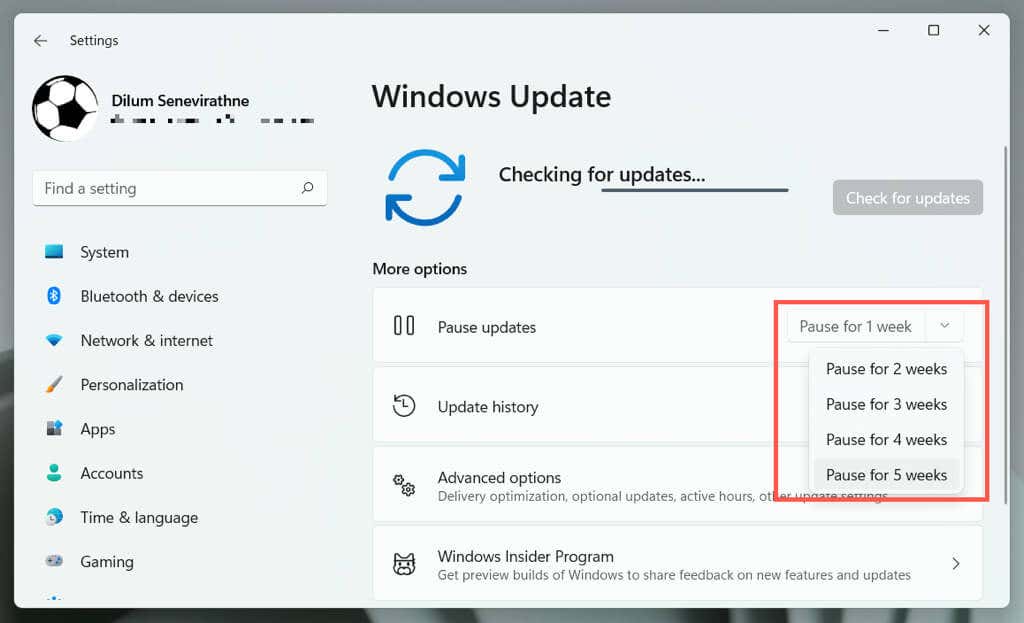
- Open the Start menu and select Settings > Windows Update.
- Under More options, select the drop-down menu next to Pause updates.
- Pick a duration—Pause for 1–5 weeks—on the drop-down menu.
You can resume and install updates whenever you want—just visit Windows Update and select Resume updates.
Set Up Network as Metered Connection
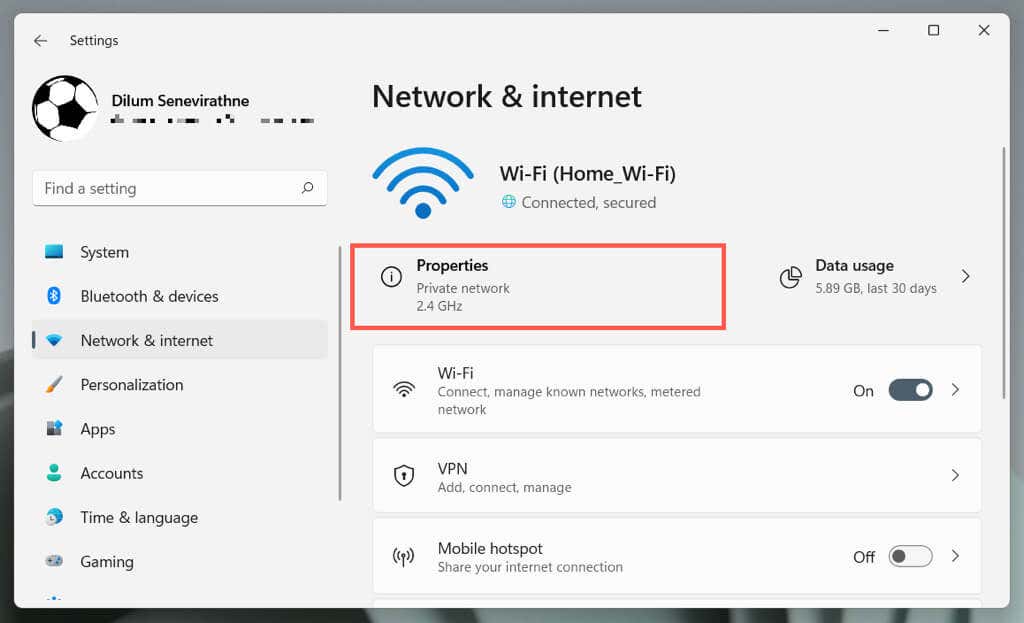
Setting up your Wi-Fi or Ethernet connection as a metered network automatically pauses all Windows 11 updates. Consider using it if you do not want to exceed the monthly bandwidth on a specific network.
- Open Settings and select Network & internet.
- Select Properties under the network name.
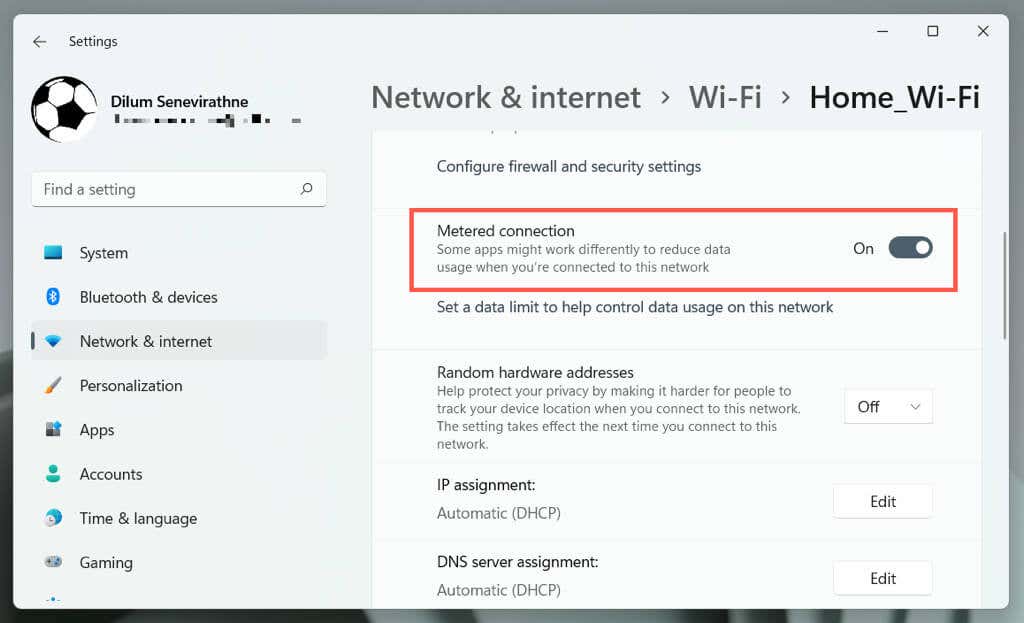
- Turn on the switch next to Metered connection.
Disable the Metered connection option if you want to allow Windows 11 updates over the network.
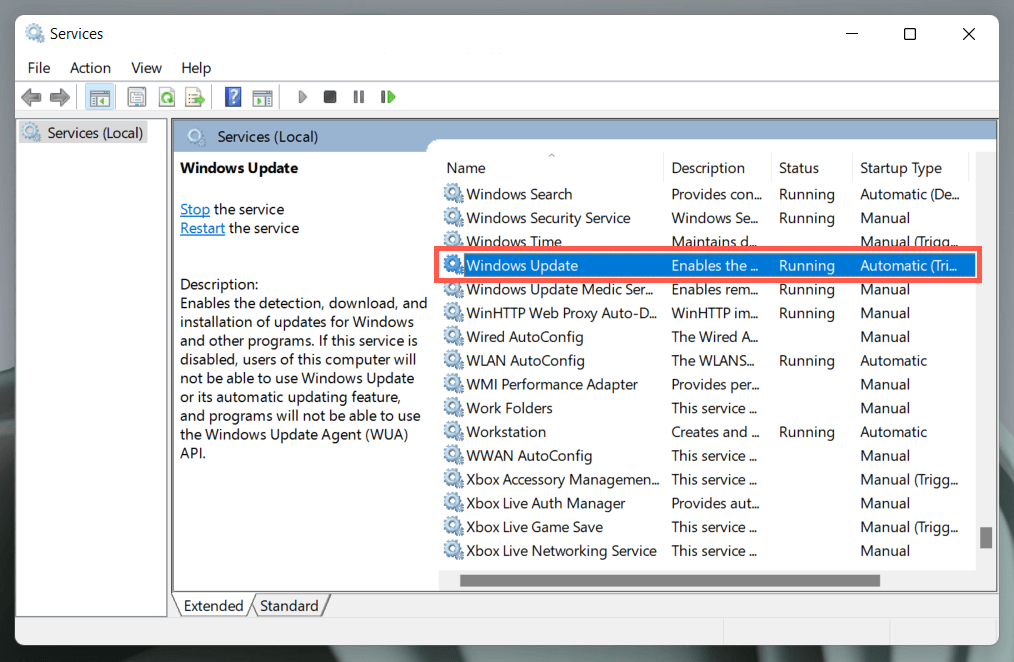
Disable Windows Updates via Services
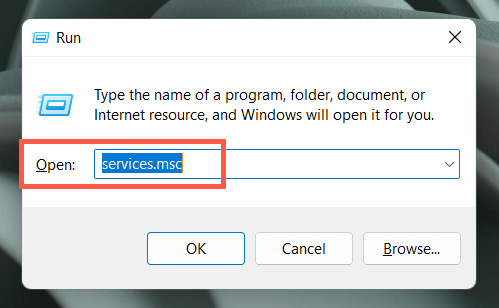
Another way to block new updates is to stop the Windows Update service from running in the Windows 11 background.
- Type services.msc into a Run box and press Enter.
- Double-click Windows Update.
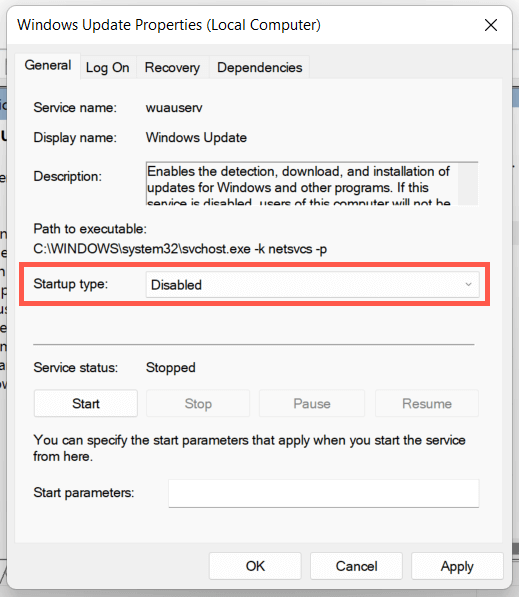
- Set Startup type to disabled.
- Select Apply, then OK.
- Reboot your computer.
If you want to re-enable Windows Update, head back and set Startup type to Automatic.
Pause Automatic Updates via Local Group Policy Editor
Use the Group Policy Editor in Windows 11 Pro or Enterprise to disable automatic Windows 11 updates. You will still retain the ability to perform manual updates.
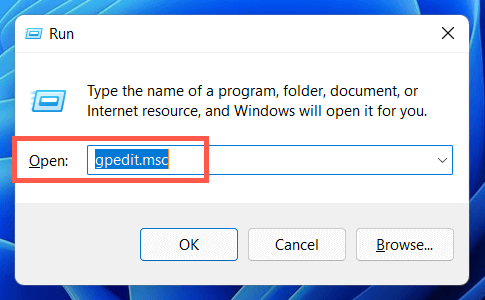
- Type gpedit.msc into a Run box and press Enter.
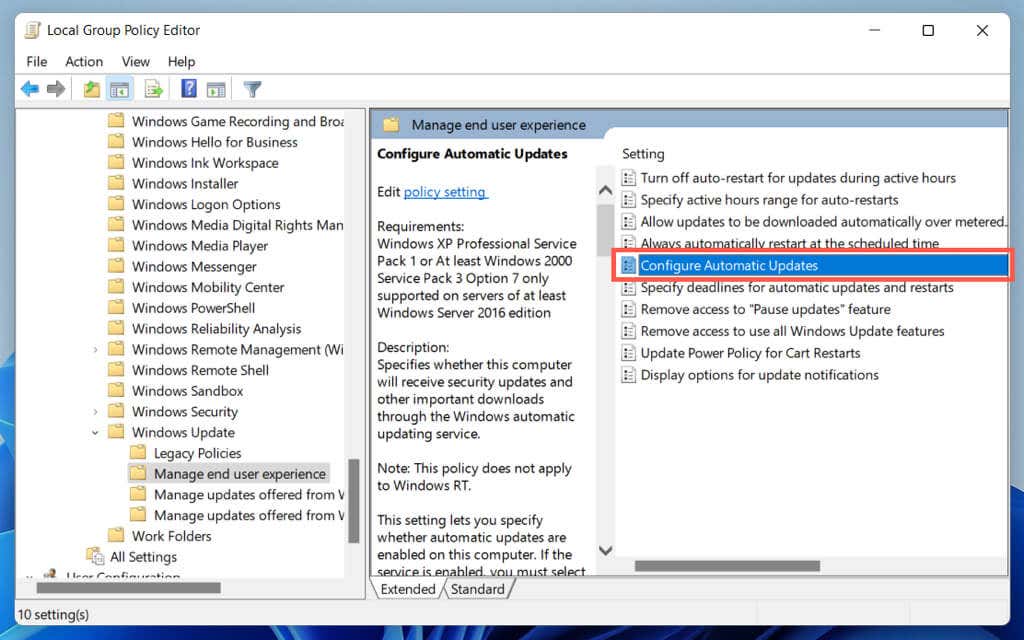
- Navigate through the following directories on the Local Group Policy Editor’s left navigation pane:
Local Computer Policy > Computer Configuration > Administrative Templates > Windows Components > Windows Update > Manage end user experience
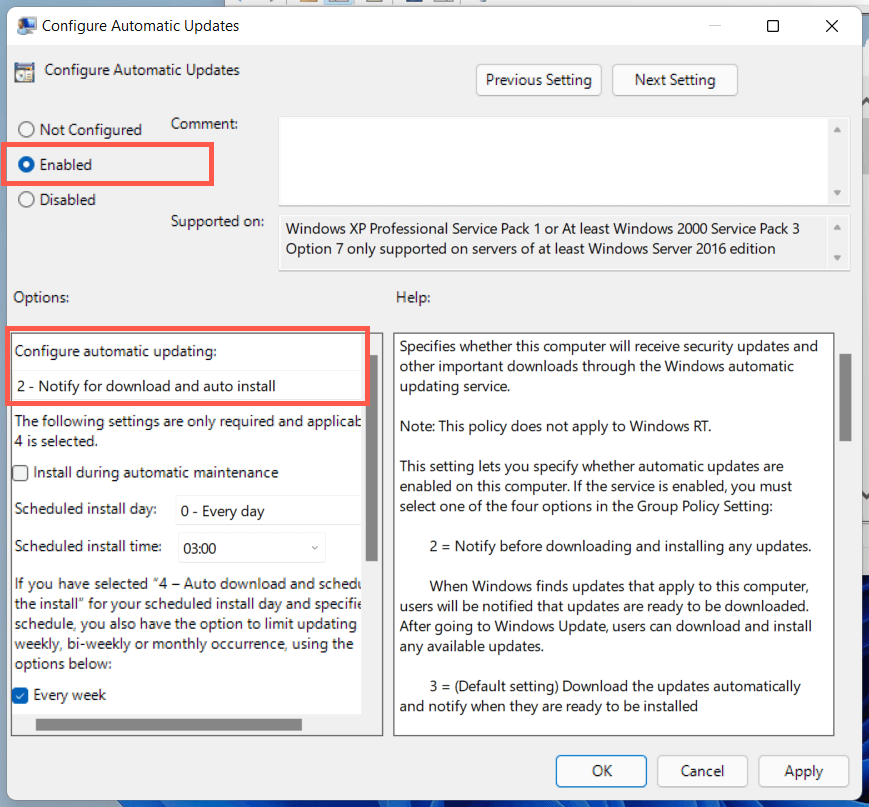
- Double-click the Configure Automatic Updates policy setting.
- Select Enabled.
- Open the pull-down menu under Configure automatic updating and select 2 – Notify for download and auto install option.
- Select Apply, then OK.
- Restart your computer.
To allow automatic Windows updates later, set the Configure Automatic Updates policy setting to Not Configured.
Pause Automatic Windows Updates via Registry Editor
If you’re a Windows 11 Home user, the following Registry Editor hack will help you disable automatic Windows 11 updates.
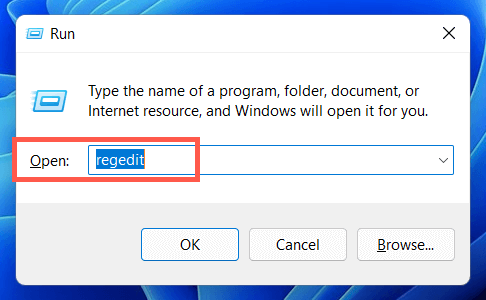
- Type regedit into a Run box and press Enter.
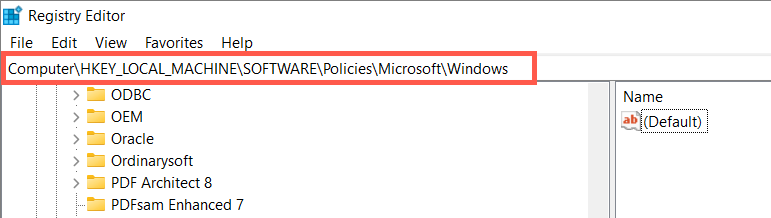
- Copy and paste the following path into the address bar at the top of the Registry Editor window and press Enter:
HKEY_LOCAL_MACHINE\SOFTWARE\Policies\Microsoft\Windows
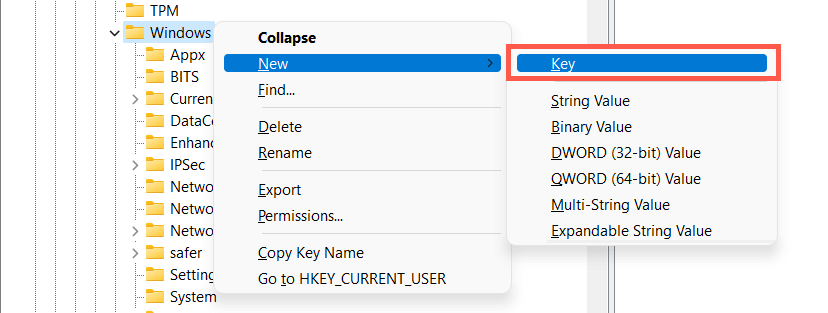
- Right-click the Windows folder on the left pane and select New > Key.
- Name the key as AU.
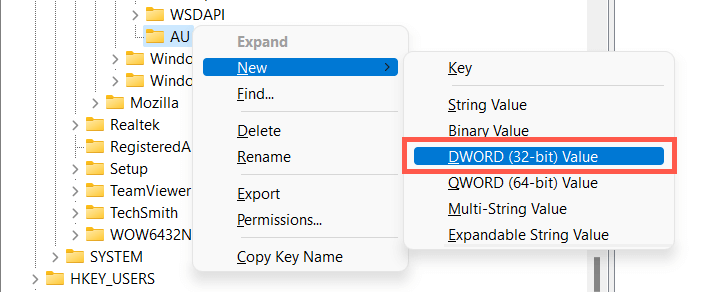
- Right-click the AU key and select New > DWORD (32-bit) Value.
- Name the key as NoAutoUpdate.
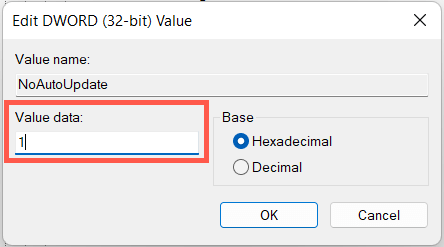
- Double-click the newly created NoAutoUpdate key on the right pane and set the value to 1. Select OK to save the changes.
- Exit the Registry Editor.
- Restart Windows 11.
If you want to allow automatic Windows updates later, set the Configure Automatic Updates policy setting to Not Configured.
Have Control Over Windows Updates and Upgrades
Although Windows updates are fun and exciting, they can also break things or cause other issues. Use the methods above if you prefer staying in Windows 10 or don’t want to install incremental updates to Windows 11. Again, we do not recommend pausing updates permanently since that will open your PC to multiple security and performance problems.
source
https://helpdeskgeek.com/how-to/how-to-pause-or-stop-windows-updates-and-upgrades/


Σχόλια
Δημοσίευση σχολίου