The Modern Language Association (MLA) is an organization that provides guidelines for professional and academic writers. Many universities, employers, and professional agencies now require writers to conform to the MLA style since it’s easy to use and consistent.
In this article, we’ll cover how you can use the MLA format in Microsoft Word.
The MLA Format Requirements
Here are the basic MLA guidelines:
- Use 1-inch margins on all sides
- Use a legible font like Times New Roman
- Use 12 size font
- Use double-spacing throughout the entire document
- Use indentation for the beginning of each paragraph
- Include a header that displays your surname and page numbers on the top right-hand side
- The first page should include your name, paper information and date
- The title of your paper should be centered on the first page
- The end of the paper should include a Works Cited page with MLA citations
How to Set Up the MLA Format in Word
Here’s how you can organize your Word document so that it conforms to the MLA guidelines. We’ll cover each requirement in turn, so start at the top and work your way down.
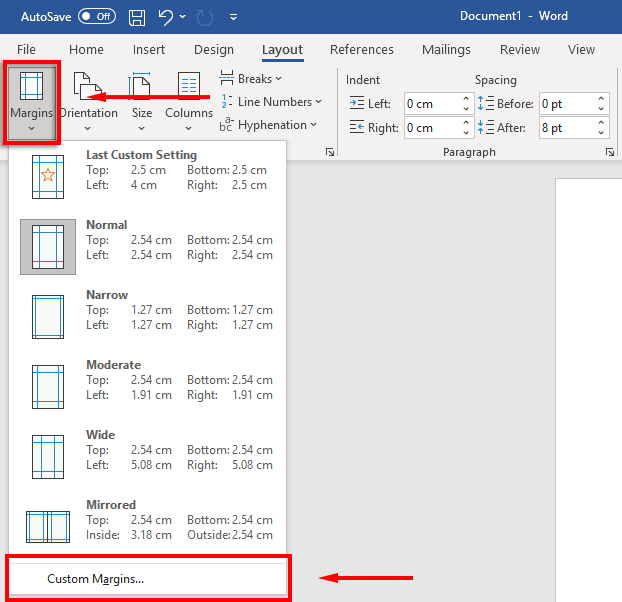
1. Set the Margins
To set 1-inch margins:
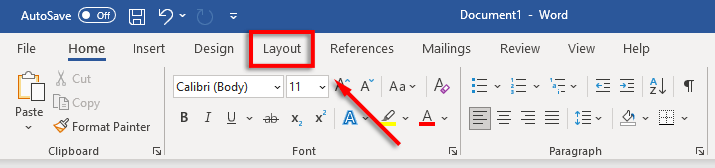
- Click on the Layout tab (in older versions of Word this will be Page Layout).
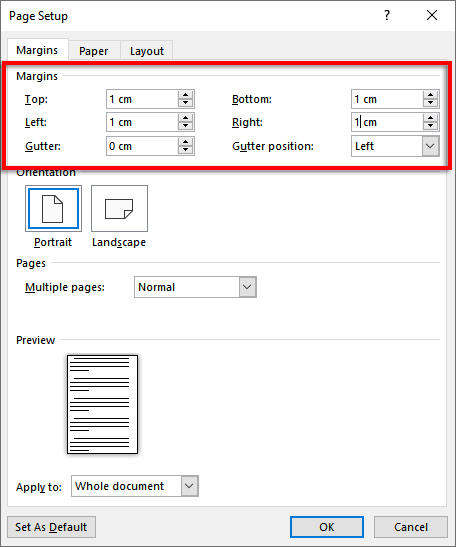
- Select Margins then click Custom Margins.
- For the Top, Bottom, Right and Left margins, type 1 and press Enter.
- Select OK.
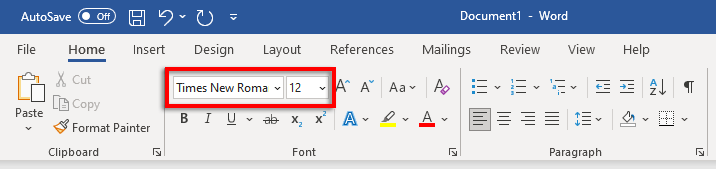
2. Set the Font and Font Size
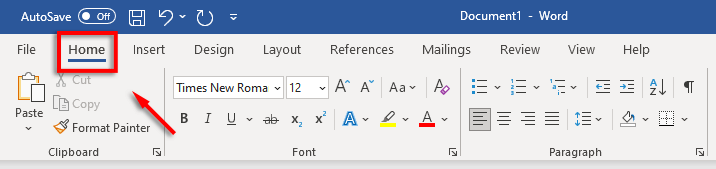
To change the font:
- Select the Home tab.
- Click the font drop-down menu and select the Times New Roman font (or a similar font like Calibri).
- Click the font size drop-down menu and select 12.
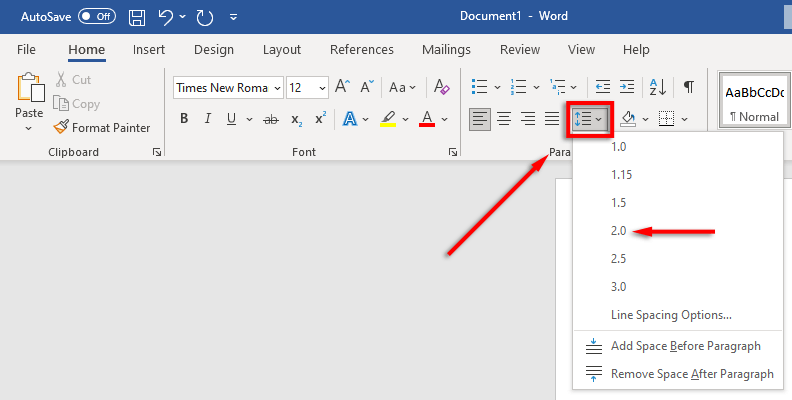
3. Set Double Line Spacing
To set double-spacing:
- Select the spacing drop-down menu. This icon looks like blue up and down arrows beside four horizontal lines. Click 2.
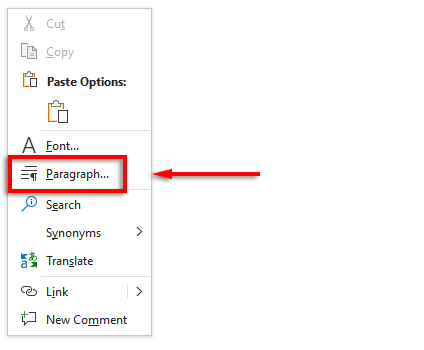
4. Set the Indentation
To set paragraph indentation:
- Right-click the document and select Paragraph.
- Make sure the Indents and Spacing tab is selected.
- Click the drop-down menu beneath Special and select First line. Then, click the field beneath By and type 1 cm.
Alternatively, you can press the tab key before starting each new paragraph.
5. Set the Header
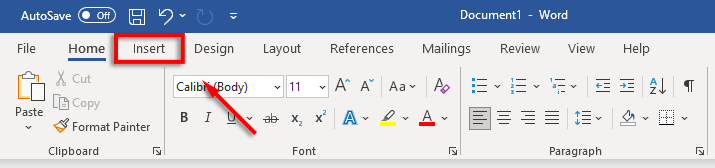
To set your header:
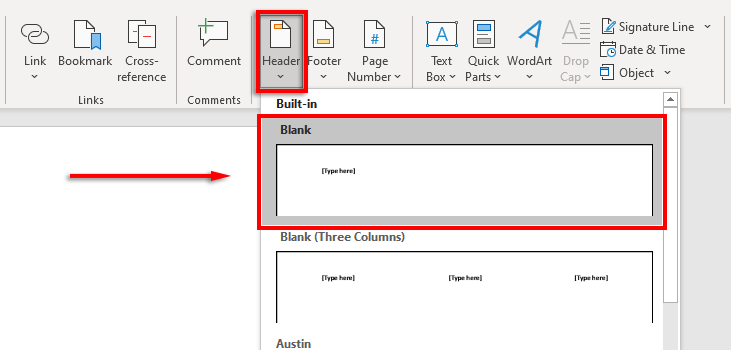
- Click the Insert tab.
- In the Header & Footer section, select Header and click Blank (the top option).
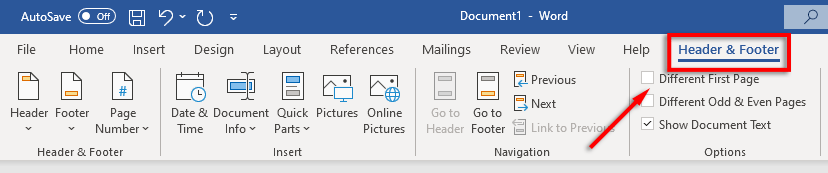
- In the header, type your name and press the spacebar once.
- Click the Home tab.
- Select Align Text Right in the Paragraph section.
6. Set the Page Number
To set page numbers:
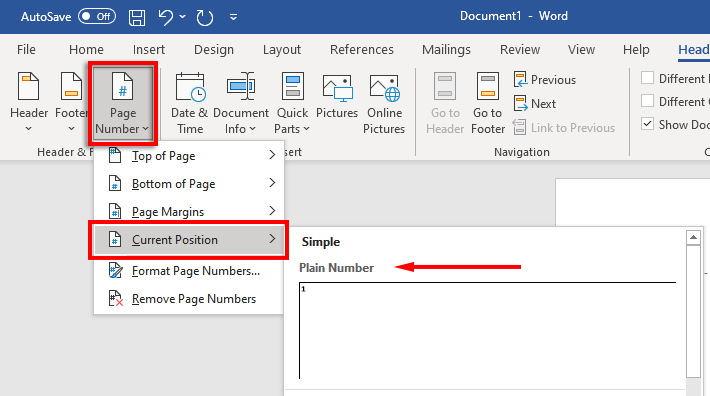
- Using your cursor, click in the header after your name.
- Select the Header and Footer tab.
- Select Page Number, click Current Position and select Plain Number.
7. Include Key Information on the First Page
Now that your formatting is set up, it’s time to include the required information on the first page of your document.
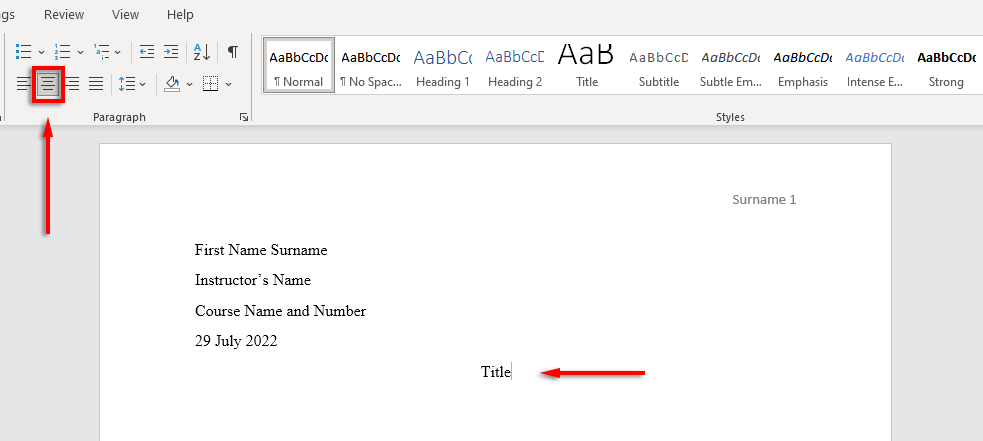
This should be one to four lines with your full name and other key information such as your course name, course number, instructor’s name, and date (written in a day, month, year format).
After the date, click the Enter key, type your document or research paper’s title and center the text by pressing Align Text Center in the Home tab.
8. Format the Works Cited Page
If you include citations in your document, these also need to conform to the MLA handbook. The list should be:
- Titled with “Works Cited” at the top of page
- In alphabetical order
- Left-justified
- Double-spaced
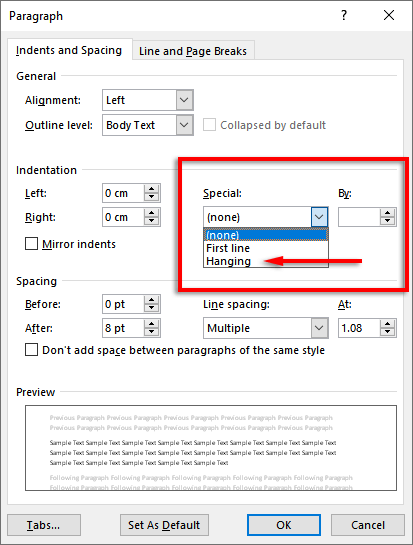
- Indented with a hanging indent
To include a hanging indent, select your citation list, right-click your document and select Paragraph. In the Indentation section, select the drop-down box underneath Special, select Hanging, and click OK.
Time to Get Writing
Now that you’ve formatted your MLA paper correctly, it’s finally time to get writing. With this formatting guide, you’ll have no trouble passing the MLA requirements. Just make sure to double-check your document before you submit it!
from Online Tech Tips https://ift.tt/nMLUm0t


Σχόλια
Δημοσίευση σχολίου