The killer feature of the Nintendo Switch is that it can, well, switch. It’s a handheld console that slots into a dock to turn it into a home console, and this hybrid design has set the Switch on track to be the best-selling console of all time if it reaches the record levels established by the Sony PlayStation 2. It’s a truly different option than Xbox One or PlayStation 4, which are its generational competition.
The thing is, sometimes, the docking part of the Switch experience just doesn’t work. While you can play games just fine in handheld mode, slipping your Switch into its dock doesn’t seem to do anything, and the green light might not even come on. If your Switch Dock is not working, these are the best troubleshooting tips.
1. Update Your Switch
This is always a good first step, so update your Switch if possible. The docking station with Ethernet Port is the only one that can update its firmware, but it has to be in working order in the first place.
2. Are You Using a Nintendo Dock?
There are many third-party docks that you can buy for your Switch on sites like Amazon, and given how much cheaper they are than the Nintendo original, it can be very tempting. Sadly, there are many stories of third-party docks bricking or damaging Switch consoles.
This is a worst-case scenario, but there’s a good chance that if your third-party dock stopped working after a recent Switch system update, it probably means that Nintendo has changed something the dock maker did not anticipate.
In short, if you’re having trouble with a third-party dock, get in touch with that dock’s manufacturer or bite the bullet and buy an original Nintendo dock.
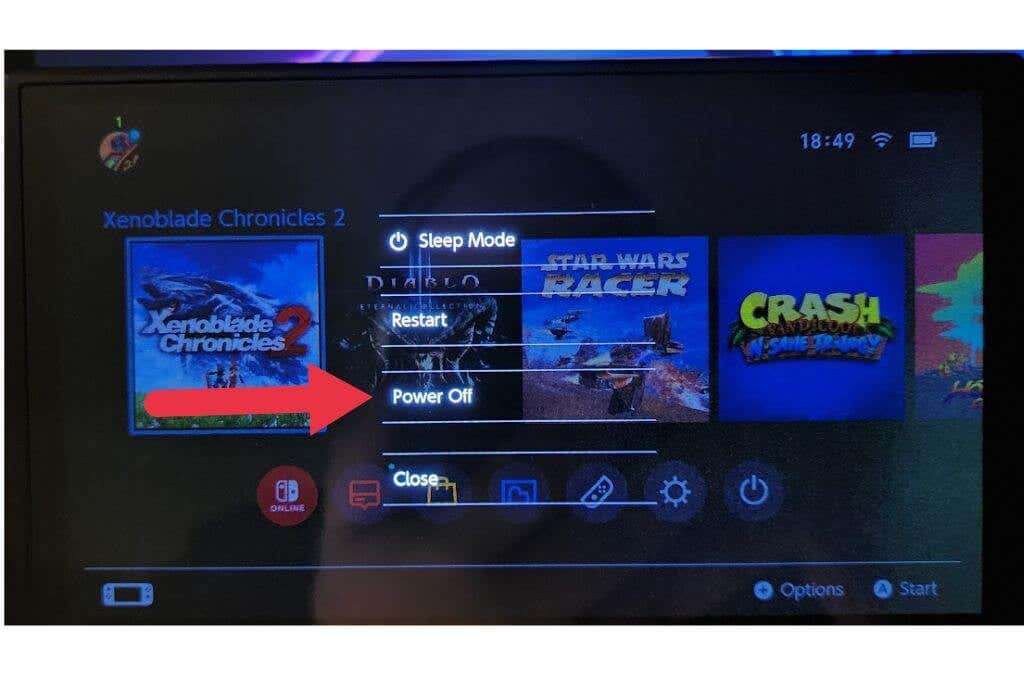
3. Power Cycle Your Switch
An excellent first step when troubleshooting dock issues is to power cycle the Switch, the dock, and your entire setup.
Press and hold the Switch power button until you see the power options menu, then select it and choose Power Off to power down the console.
Next, remove the power adapter from the wall and leave it unplugged for a few minutes to allow any power to discharge. Then plug it back in, turn on your Switch, and check if everything is working again.
4. Use the Correct Order for Cables
While we haven’t experienced this ourselves, it seems there may be a wrong order when connecting a dock to your TV that can affect whether everything works correctly. So unplug everything, start from scratch, and connect everything in this specific order:
- Connect the power to the dock.
- Connect the power adapter to the power outlet.
- Connect the HDMI cable to the TV’s HDMI Input.
- Connect the other end of the HDMI cable to the dock.
- Switch the TV to the correct HDMI port.
- Insert the Switch.
If all goes well, the Switch should not be displaying its output on your TV. While at it, you should also check power cable connectors and the cable itself for damage.
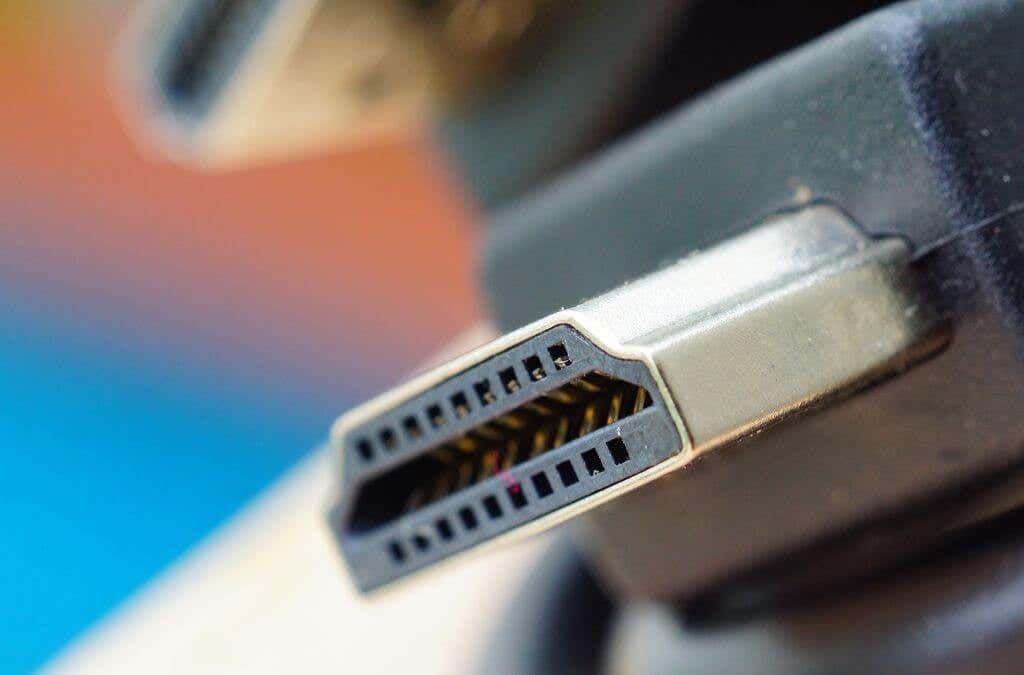
5. Check the HDMI Cable
Usually, HDMI cables either work or don’t, but a damaged cable may work intermittently. Carefully inspect your HDMI cable for physical damage. Test it with a different device, and try using an alternate cable.
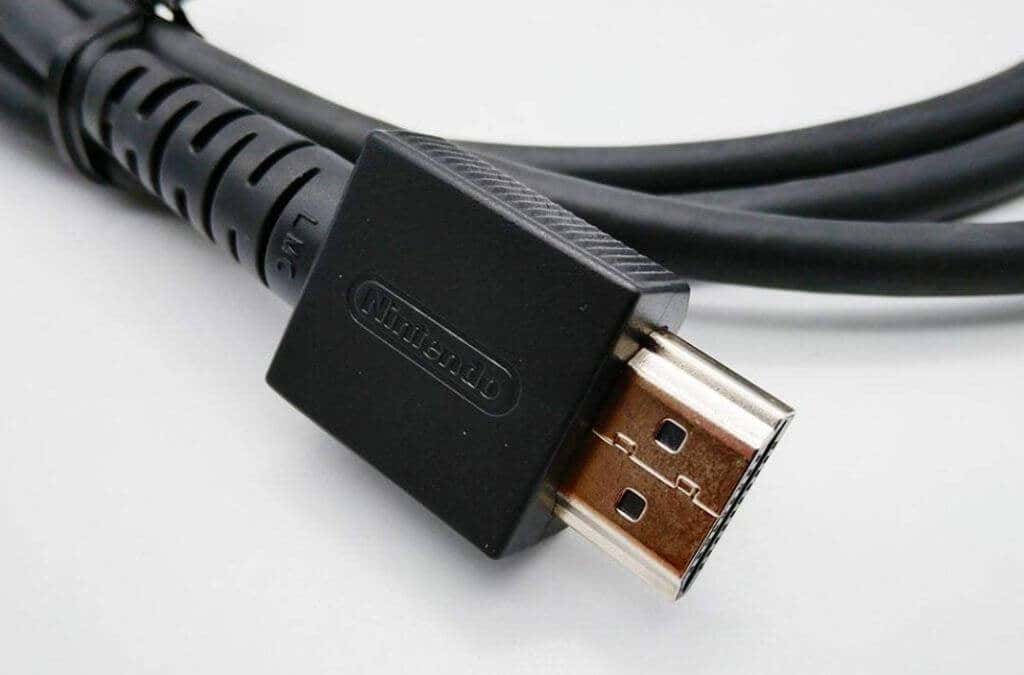
6. Use the Official HDMI Cable
HDMI cables follow a common standard, so in most cases, it doesn’t matter which HDMI cable you use with your Switch. However, some off-brand cables may cause issues with HDCP (High-bandwidth Digital Content Protection) or other strict aspects of HDMI that the Switch expects.
Assuming that you still have the original Nintendo HDMI cable that came with your Switch, it is worth testing the dock with it to see if there might be something odd about your non-Nintendo cable that isn’t apparent from testing it with other devices.
7. Try a Friend’s Dock or Switch
If you own multiple Switches and docks, it’s an excellent time to try swapping out consoles and docks to track down which part of the setup is causing the issue. If another dock works, but the original doesn’t, that suggests there’s something wrong with the dock itself, and it might need replacement.
8. Check the Switch Dock Power Supply
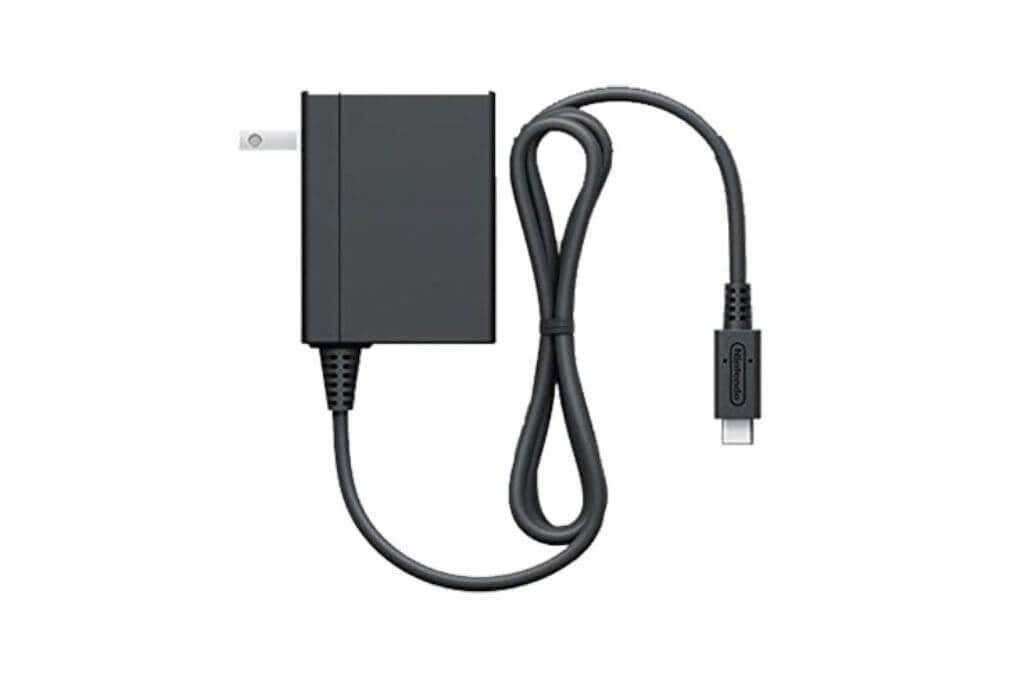
A core reason that your dock doesn’t appear to be working is that it isn’t getting any power or isn’t getting enough of it. So the first thing to confirm is that the USB-C AC adapter is plugged in correctly and that the wall outlet is working.
An excellent way to do this is to unplug the power cable from the dock and connect it directly to your Switch. If the Switch indicates that it’s charging when you do this, you know there’s power from the adapter.
That’s an excellent first step, but just because there’s power from your adapter doesn’t mean there’s enough to power the dock. In docked mode, the Switch requires more power than it does to charge or run in handheld mode. It could be that the power adapter you’re using doesn’t produce enough power.
Nintendo’s power adapter is non-standard regarding how it negotiates power and the amount of power it provides. This is why you shouldn’t use it with other USB-C devices such as a Samsung or other Android phones. This is also why non-Nintendo power adapters may not give the dock as much power as it asks for. So use an official or third-party adapter explicitly designed for the Switch.
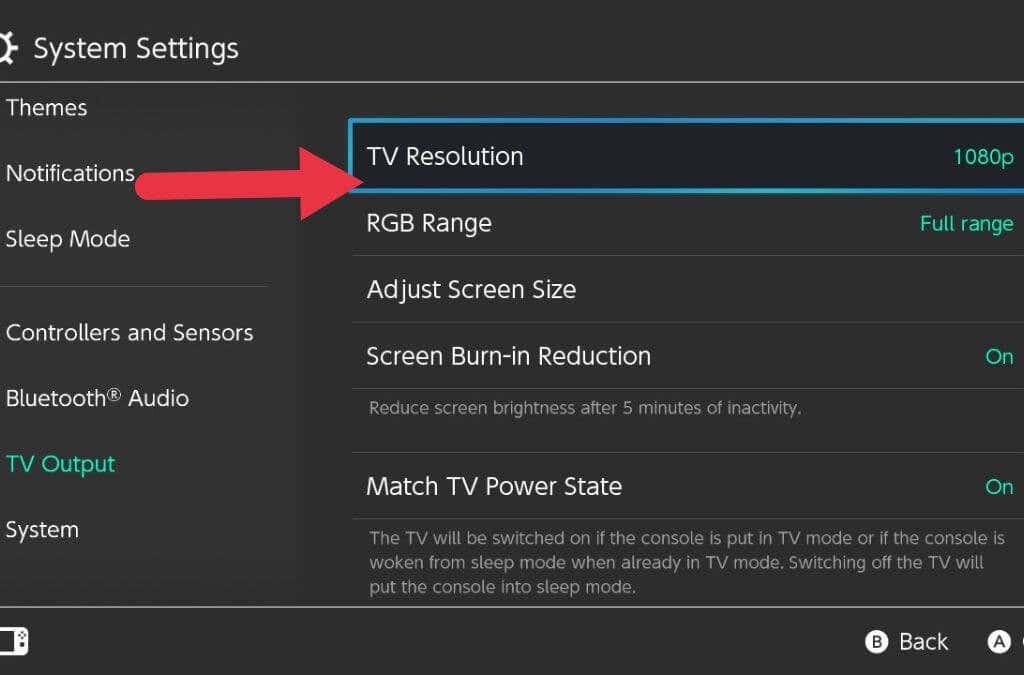
9. Change the TV Output Resolution Configuration
The Nintendo Switch can output at three different resolutions: 480p, 720p, and 1080p. Virtually any TV you encounter should handle all three of these options, and 1080p should be the best choice 99% of the time. However, you may be dealing with a TV that doesn’t play nice with one or more of these resolutions.
For example, some old 720p TVs or monitors may not handle a 1080p signal. To be clear, this is not very likely. It would have to be a relatively obscure TV to have an issue with these standard resolutions, but it can’t hurt to try different outputs to see if it makes a difference.
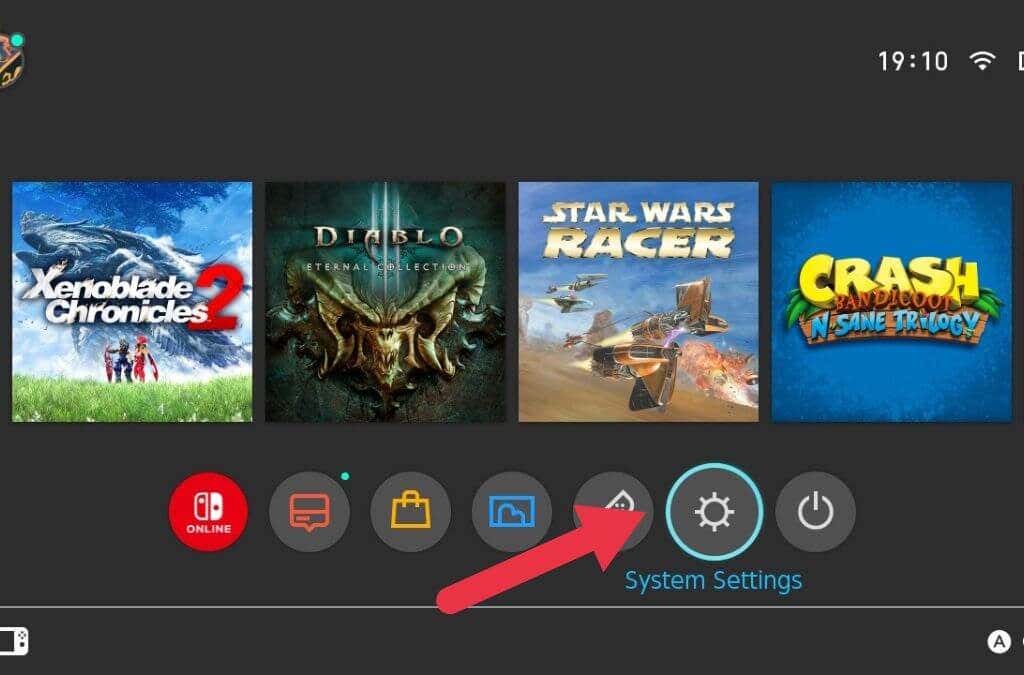
- Open System Settings from the HOME Menu.
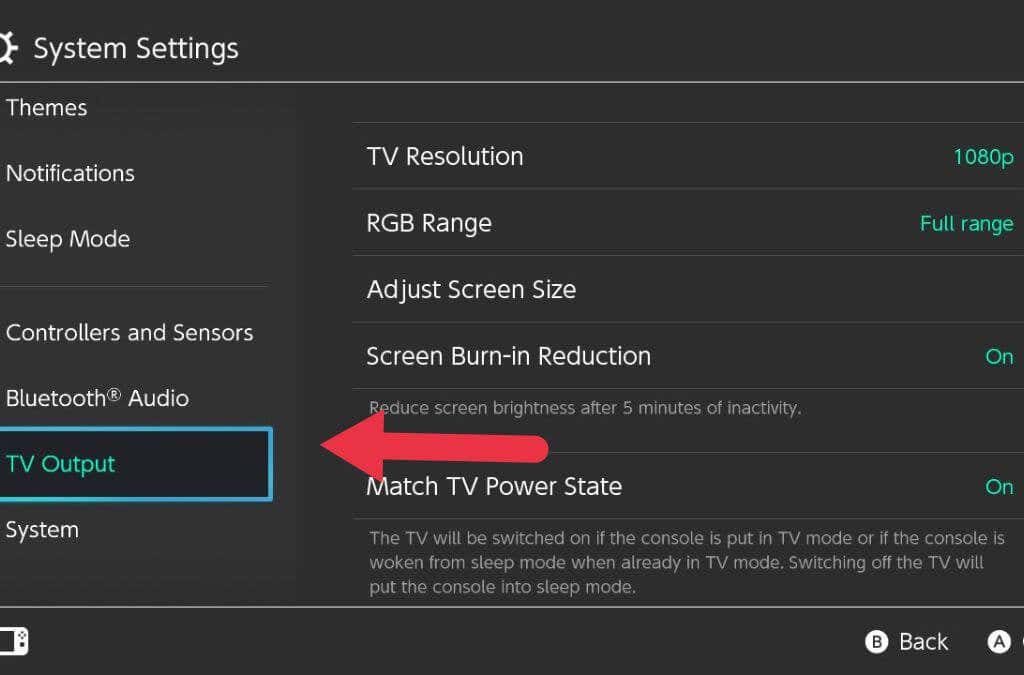
- Choose TV Output from the left-hand list.
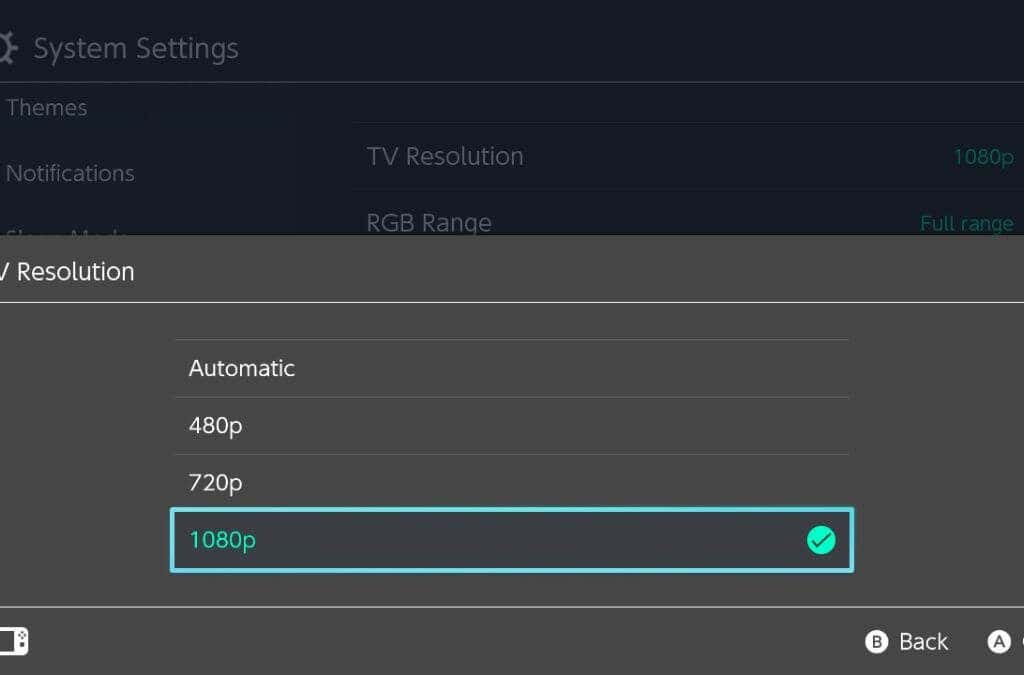
- Go to TV Resolution.
- Change the option from Automatic to one of the three choices.
Put your Switch into the dock after each change to see if it helps.
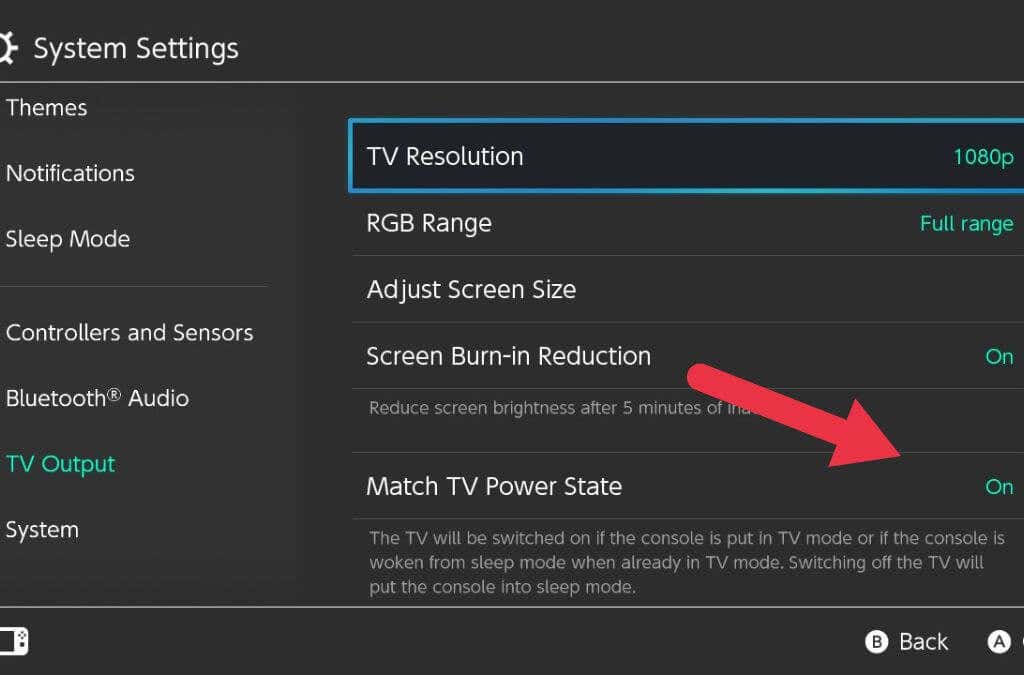
10. Disable Power State Matching
While in the TV settings described above, you may want to disable Match TV Power State. All this does is turn the TV on when you turn on the Switch or insert it into the dock. It also turns the Switch into sleep mode when you turn off the TV.
This can confuse you when you’re trying to troubleshoot dock issues or get into a situation where turning on the TV turns the Switch off. So it’s a good idea to disable the feature temporarily until you fix your Nintendo Switch dock.
11. Clean Your Dock and Switch Port
USB-C is a tremendous upgrade over the old USB standards. It’s reversible, compact, can carry loads of power and data, and it’s becoming virtually universal. There’s just one significant flaw: dirt buildup.
This is a common issue with USB-C smartphones where small amounts of lint, debris, and dirt get shoved into the USB plugs and ports every time they’re inserted. Eventually, this buildup creates a buffer that prevents the cable from making contact within the port.
You can gently probe the inside of the Switch’s USB-C port and around the plug in the dock itself to see if there’s any gunk to fish out. Don’t use a metallic object such as a pin. We usually use a wooden or plastic toothpick; even then, you should be very gentle.
If You Have a Faulty Dock
If you’ve tried every reasonable troubleshooting step to get your dock working, it may be time to accept that it’s faulty and needs to be replaced. If your Switch (or dock purchased separately) is still under warranty, you’re most likely entitled to a free repair or replacement. So get in touch with your local Nintendo Service Center.
Although Switch docks are relatively expensive, there’s not much you can do to fix Nintendo Switch docks. This means you have little choice but to replace the entire unit out of pocket if the electronic components are faulty and you’re out of the warranty period.
Again, as we mentioned above, it’s probably best to avoid third-party docks not certified by Nintendo since this can leave you with a bricked Nintendo Switch console. However, you should take the time to look for used or refurbished Switch docks before you buy a new one.
There are a surprising number of docks that people sell off because their consoles are broken or have been replaced, and there’s little reason not to buy a used dock. After all, there’s relatively little that can go wrong with them.
source
https://helpdeskgeek.com/help-desk/nintendo-switch-dock-not-working-11-ways-to-fix/


Σχόλια
Δημοσίευση σχολίου